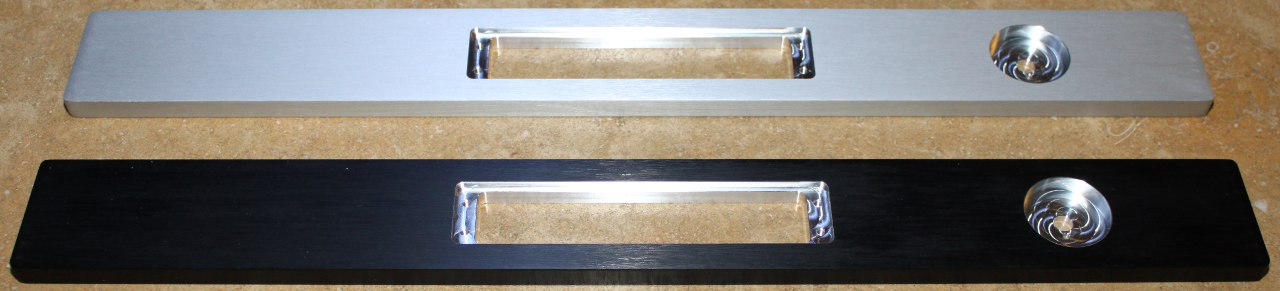
Finally, I managed to have a small set of frontplates produced, specialized for the
News from Feb. 16, 2015: Unfortunately, these frontpanels are now out of stock. I will try to organize a new batch...
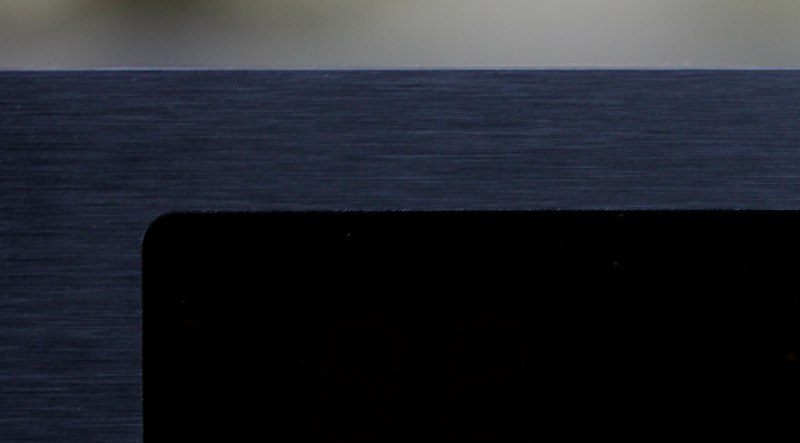
In addition I have made dark-brown acryl-glass inlay windows, 3mm thick, that precisely fit the created opening. In fact, it is this precise fit which made it difficult for me to get this combination manufactured. You can press them in, and they will stay in place as the fit is rather tight. The relaixed front-PCB LED displays will shine through this window, and the IR receiver will still have proper reception from behind. To reduce the blank inside edges of the ALU shine through the display, I darkened them somewhat with a black marker pen. I have some more of these acryl windows made, so I could send these out also without the ALU panel.
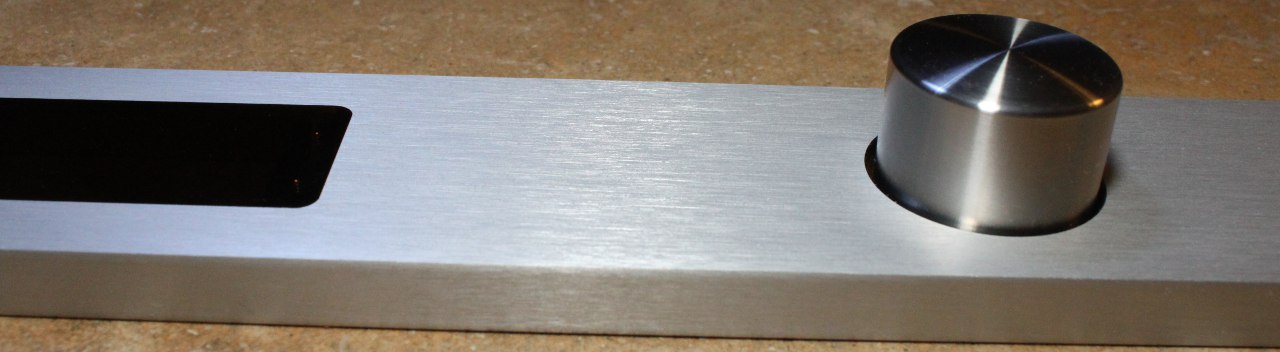
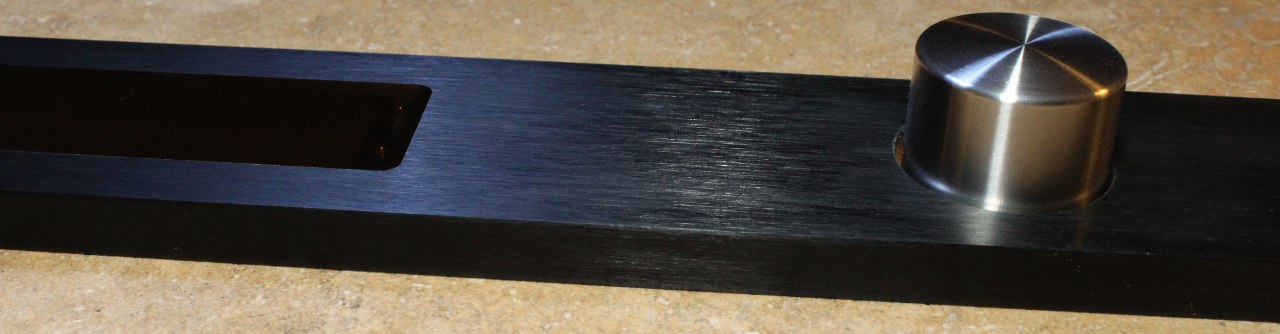
The opening for the volume-knob is made to fit a 30mm diameter knob. Above foto shows the knob I like most, which unfortunately is quite expensive. It is a rather heavy stainless-steel knob, originating from DACT as 'CT-knob2', which can be obtained in a choice of specialized DIY-audio shops on internet, such as e.g. here. This DACT knob is fixed to the shaft of the switch with a deeply inserted screw for which you need a small TORX screwdriver size T6. Lower cost options could be product 183900-89 from Conrad, 1282598 from Farnell, or 450-KB300 from Mouser.

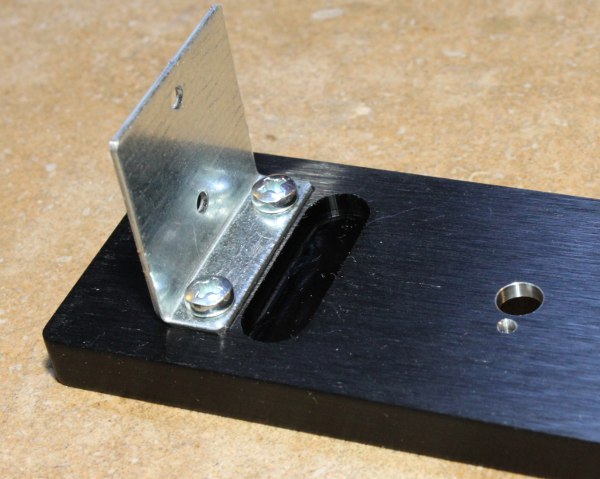
These panels come with a pair of mounting brackets and some screws that attach into screw-holes on their inside (back side) for fixing onto the chassis side panels.
You might also have seen above the two pairs of holes on either side of the window. They are fitted with M3 wire to attach the Relaixed front-PCB onto the inside of this panel.
I can offer this frontplate for a price of 52,= including the mounting brackets, screws, and the acryl window. This does not include the front knob. If this ALU panel can be sent together with the relaixed PCBs, it would probably not increase the standard mailing cost. The acryl window alone would cost 2,50.
Backplate
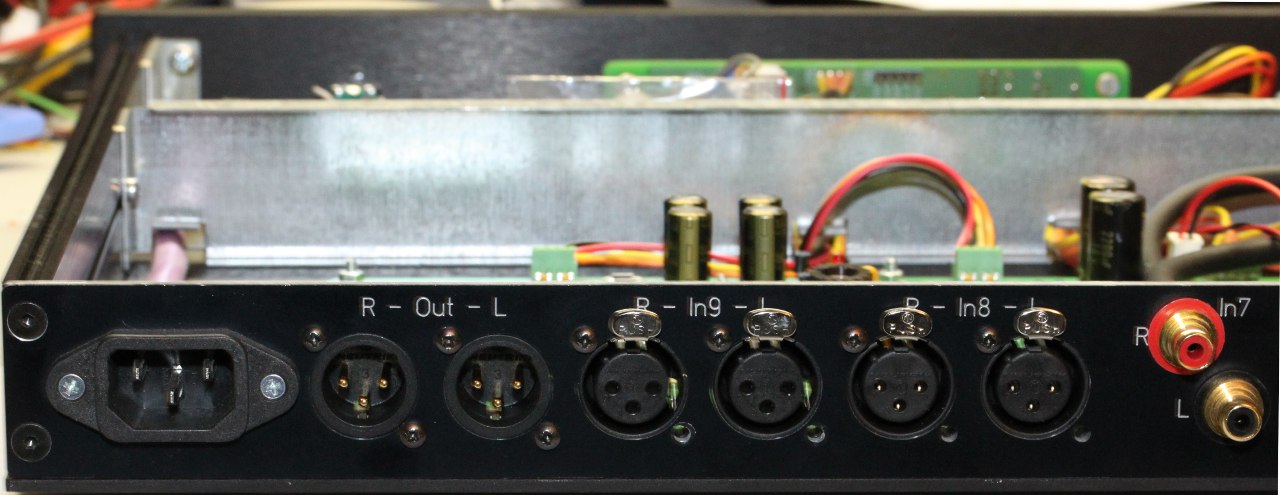
This foto is of my own backpanel, made already a few years back.
The panel is made by Schaeffer.
They provide an easy to use service, which is (barely..) affordable for single pieces.
For this panel, a 3-mm black-finished alu was selected from their list of standard materials,
which automatically results in a nice highlight of the engraved text.
This is a printout of the design,
and the actual design file.
Note that this was a particular design, made to have DAC module integrated with the relaixed.
You would probably like to remove the DAC connectors...
Later I will add a 'plain' relaixed backpanel here.
Note that this black-finished ALU material from Schaeffer is not so nicely 'brushed' as the Hifi2000 material, and that furthermore the sides of the panel are blank ALU, and not blackened. Potentially, a more beautiful result could be obtained by having Schaeffer operate on the actual back-panel that comes with Hifi200's Slimline case. Sending them this panel might be an option that I didn't explore.
The height of the XLR openings in the backpanel for this design is fixed as result of:
- The backpanel stands on top of the bottom plate which also mounts the PCB.
- The PCB is mounted on the bottom plate through 5-mm high spacers.
Other build
This is a photo of actually a more standard backpanel, made by a friend of me:
This backpanel was also made by Schaeffer,
from this designfile.
This backpanel was actually made by Schaeffer out of the original Hifi2000 provided back-plate,
which you can see from the blackened side edges.
The procedure was: order the backpanel online on the Schaeffer website, with a remark that you will provide your own material, and note your order number. Then send in your panel, and provide clear information with the package regarding the order number to which it belongs.
Note that this design file does not show the opening for the mains power connector, since that opening is already present in the Hifi2000 standard panel.
Cabinet sides and top/bottom plates
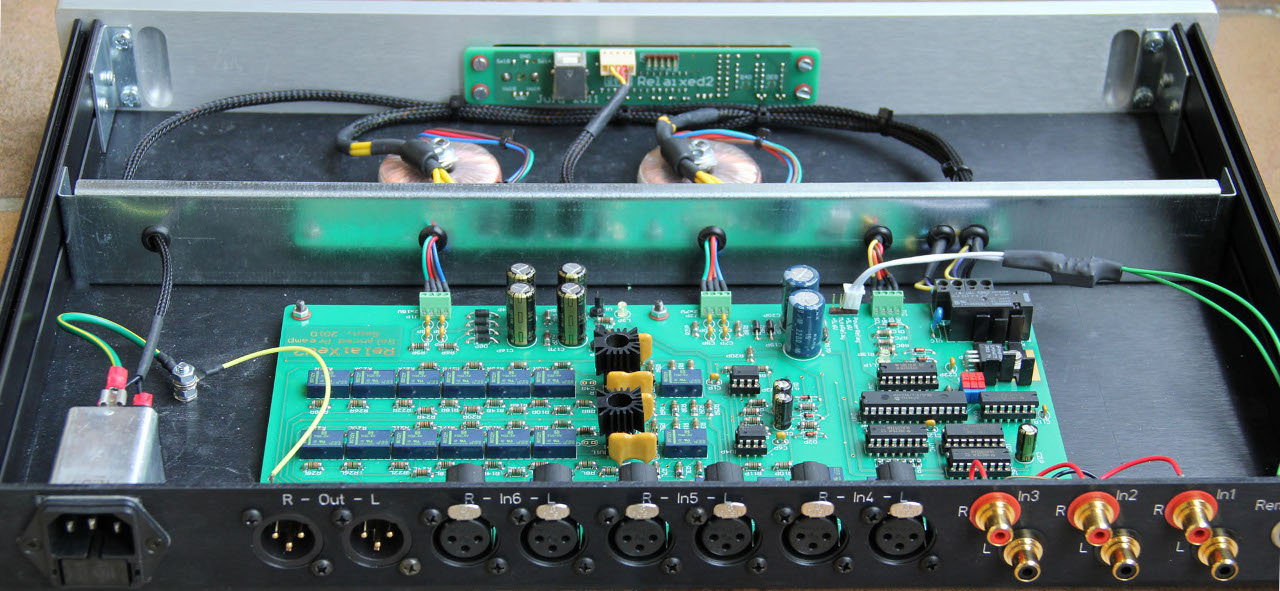
You might order a plain Slimline cabinet, height 1U, with my suggested depth of 280mm, and just replace the included default frontpanel with my customized panel and replace the back-panel with a Schaeffer one. Alternatively, you could only order the required parts: a pair of side panels and a pair of top/bottom covers. They also offer a so called "support facade", which is visible in the above back-side foto. It offers a) support for the top cover which otherwise has no carrying support near the front side of the cabinet, and b) provides some electrical shielding between a (smaller) front section which contains the display PCB and the transformers, versus the (larger) back section which contains the main audio PCB. The foto also shows my square holes in this support along the cabinet bottom to pass-through some wiring.
Note that the slimline cabinet comes with a choice between the default steel covers and 3-mm brushed-ALU covers (newer, more expensive). I can confirm that these ALU covers are beautiful, and have the additional advantage of being non-magnetic which could reduce transformer-induced vibrations. However, they have a somewhat rough surface which seems sensitive for scratches.
Back to the relaixed2 page
Sep. 22, 2015
Jos van Eijndhoven